Nintendo DS Model Extraction
Table of Contents
Overview
Let’s say, hypothetically, you’re like me and grew up playing iconic games such as Animal Crossing: Wild World (2005) or Dragon Quest IX (2009) on the Nintendo DS. And, if you’re (hypothetically) like me, you developed an interest in programming, 3D modeling, and what are now considered “retro” games along the way. And somehow, all this culminated into a strange desire to rip 3D models from old games while writing tools to make it easier in the future. Well, that’s pretty much what I’ve done.
Process
- Legally obtain a ROM (.nds) file for a Nintendo DS game
- Dump the 3D models with the
apicula(GitHub) command line utility into a folder - From the directory with both apicula and the .NDS file, run:
apicula extract <ROM.NDS> -o <OUTPUT DIRECTORY>- On Windows, you need to have the Command Prompt or PowerShell window in the same directory as the .exe, or to add it to your PATH (which seems a bit overkill, in my opinion).
- This could be automated entirely in Blender using os module… and then packaged as an addon?
- Apicula is under the 0BSD license (a Free Public License with no liabilities or restrictions)
- Once the files are dumped, attempt to parse all of them as .dae files with
apicula convert <TARGET DIR>/* <MODEL OUTPUT DIR>
Tool development
During this process, I also wrote several smaller scripts to help facilitate the organization/viewport performance across different scenes. As the ROM that I used had nearly 6000 models (each with their own materials, textures, and rigging information!), it was important that the viewport be performant.
NDS Importer
- To bring the
DAEfiles into Blender, target this new output dir in the Blender importer script and run! Change the configuration settings for textures, etc., as you see fit - The script does several things, including:
- Imports the model and renames it according to the apicula file that was extracted (important for organization instead of having hundreds of
Armature.001s clogging up the scene) - Automatically links the input texture alpha to the materials in the viewport
- Automatically enables transparency with Alpha Clip for both opaque and transparent surfaces
- Automatically sets the texture interpolation to any of Blender’s available options (I chose “Closest”, meaning no interpolation, as the other options would make the pixel art less crisp.)
- Imports the model and renames it according to the apicula file that was extracted (important for organization instead of having hundreds of
- My script was tested on the game DragonQuest IX, a popular game that I remember fondly from my childhood.
Colladae models imported and arranged automatically by my custom script.
Regular Expression Selection
- I also found that (at least for this game), practically every model had several copies and different skins, so there was a lot of repeated content that I didn’t feel would be useful or helpful to keep around. Additionally, some versions of the LoD meshes were improperly skinned/fixed by Blender’s tris-to-quads algorithm, but as there were multiple copies, I could just delete these to not worry about them and use the properly skinned versions instead.
- One thing I noticed was the lower-quality level-of-detail (“LoD”) mesh objects always matched the higher quality version, with the addition of “_f” at the end of the name. As Blender doesn’t have a way to select by name like this*, I decided to write a simple tool to let me do that as well. Note: it does! I just didn’t know it was there.
- Edit: I found the option to do so in Blender using the Select -> Select Pattern menu. While I’m thrilled to know this is here (and shows you learn something new about Blender every day!), I had fun writing my own addon extension for it and appreciated the practice in using Blender’s class system for registering and unregistering modules, as well as executing code through the UI panels.
- I wanted a way to select objects and armatures using regular-expression style notation, which would (for example) allow me to select and isolate all the LoD meshes matching the pattern “*_f”
- Calling it “re-select”, for “regular expression select”
- Of course, while I was trying to figure out where to put the menu for the addon, I was looking in the built-in Blender “Select” menu and found the ‘Select Pattern’ tool, which does basically exactly what the tool I just made does, if not better. Oh well. It was still a good learning experience.
Using RE-Select to identify duplicate LoD meshes in the scene.

Models remaining after selecting and deleting all duplicate LoD meshes.
Redistributor
- One thing that I DIDN’T find a built-in tool for was neatly arranging large quantities of models/objects in a scene. So, I wrote something to fix that too.

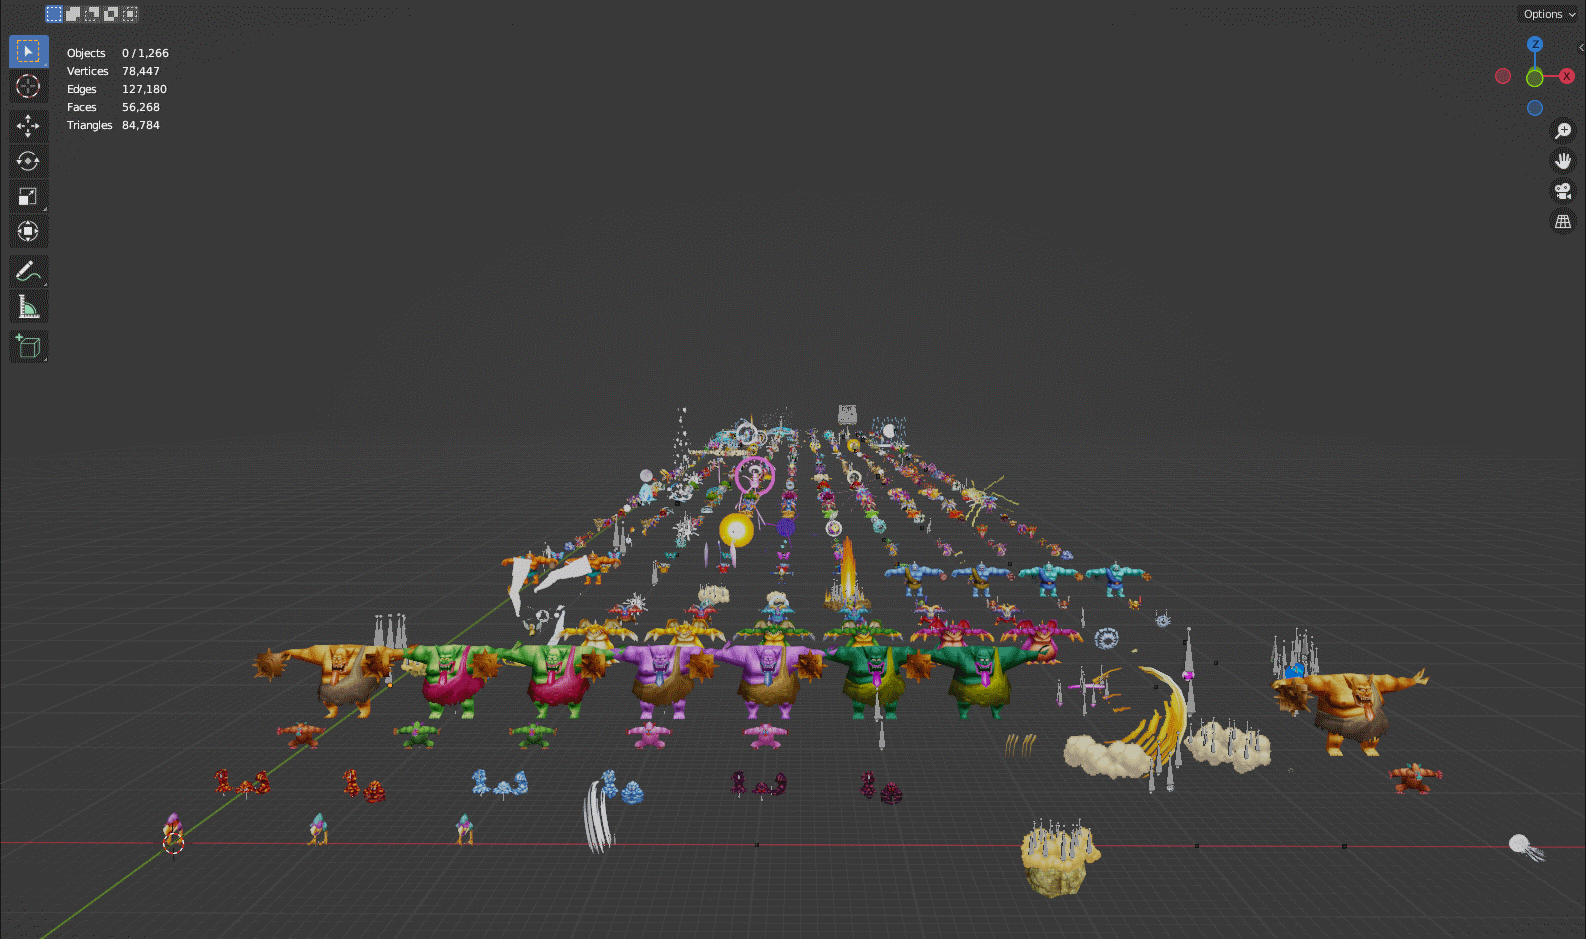
Redistributing the meshes from the previous step into an organized grid.
- I also wrote scripts to organize and redistribute the armatures in the scene – deleting several copies, moving them between scenes, etc., often resulted in chaotic arrangements of the armatures. So, I used Python to once again extend the Blender backend to automatically rearrange the characters/models/rigs into a grid arrangement for easier access.
- Would be nice to utilize a grid packing algorithm to consolidate them as much as possible, or check the sizing information/dimensions of each object first to pack according to model size.
Arranging objects with my Redistributor tool.
- Modifying the existing rigs and adding Inverse Kinematics for manual animation
With the rigs intact, I could easily set up inverse kinematics to create new animations for the existing models.
My Findings
- A surprising number of particle effects, etc., have their own rigged objects which are animated using UV map displacement; this is different from modern games (e.g., Unity in my experience), which use particle systems and complex shaders/node graphs to achieve the same effects. Cool to see similar styles achieved with much more severe hardware constraints.
Apparently even particles need bones. Who knew?
- Facial features and other characteristics reused across skins are often separate and use a separate material (e.g., slime eyes), which is really clever and neat.
- I still didn’t find the player models or any* (I found one) NPCs, which is really what I was looking for. Sad.
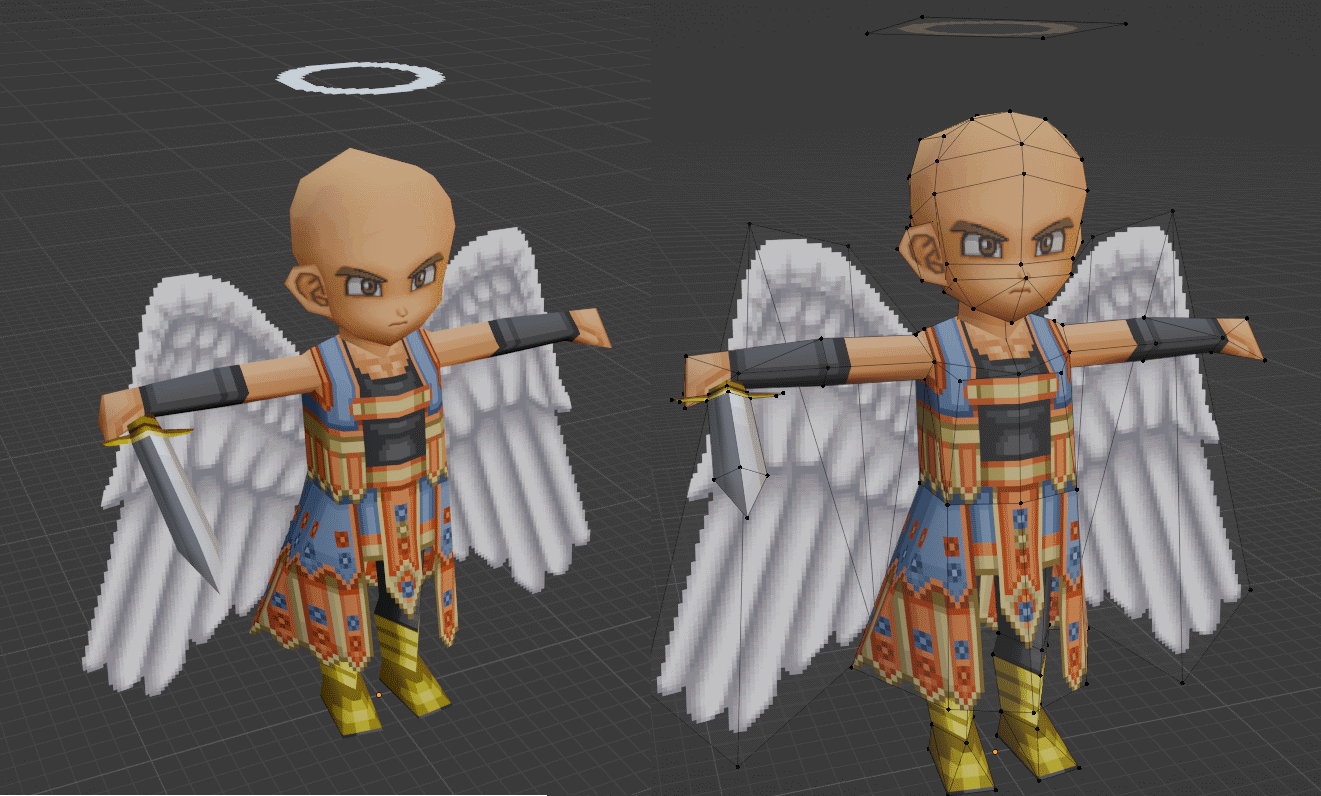
A textured model and its wireframe view after cleanup by my import script.
Conclusion
I learned a lot from this project.
Source Code
My utility scripts including the NDS Importer and Object Redistributor are available on GitHub.
Disclaimer
I do not endorse any illegal activity regarding ROM hacking or the abuse of copyright law or intellectual property. Only use this tool for files you own and have the right to use!